October

“I’m so glad I live in a world where there are Octobers”

L.M Montgomery

I couldn’t agree more, L.M Montgomery! October is one of the most magical months. And yes, I could be biased given that it is my birthday month, but, there is nothing like crisp morning air and pumpkin spice lattes! (basic I know)

One of my favorite October activities is getting up for an early morning drive to a farm for apple picking and pumpkin picking. I found this one farm about 4 years ago and I haven’t looked back since – it has become a tradition of mine!

There is apple picking.. the kind of apple picking you can dream of. You walk all the way up this big hill and once you reach the hill top there are hundreds of apple trees over looking the valley. It is the most peaceful and beautiful thing! They have rides set up for the kids, food vendors, live music, pony rides, pumpkin picking but my favorite of all… apple cider donuts! It’s what I wait all season for.

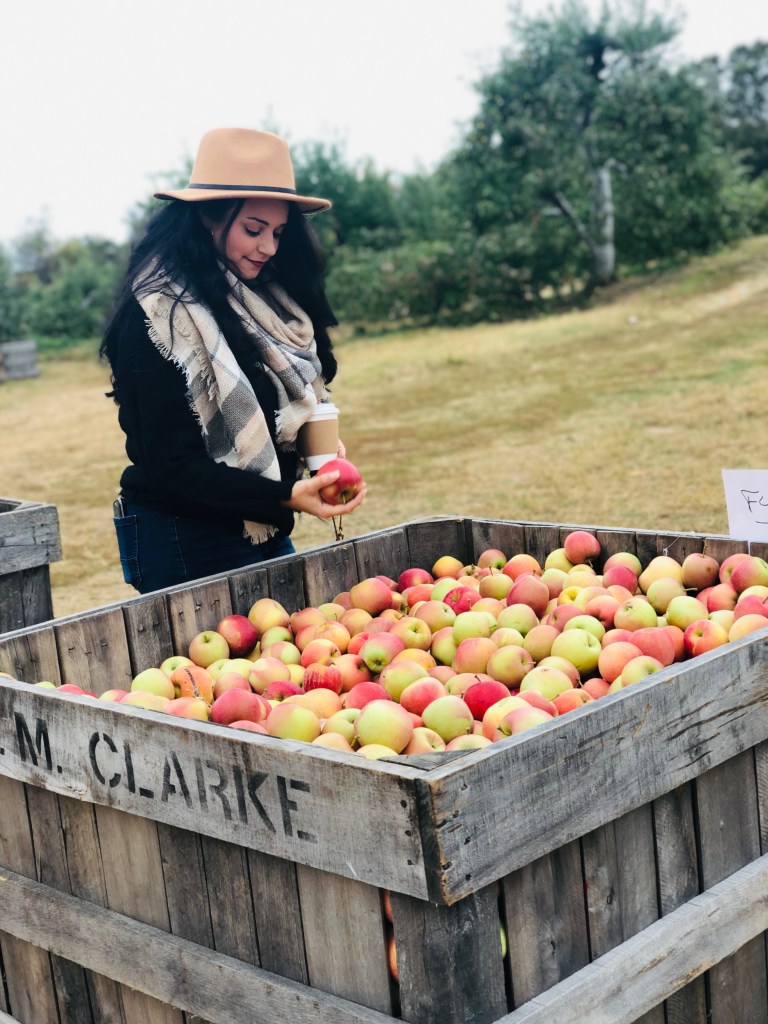
With all of the apples we took home, I was able to make 4 apple pies! Oh, and my fall hat – which was so fitting for this adventure I found on amazon for just under $20! https://amzn.to/33tOjH3 Color in camel

PUMPKINS GALORE

Pumpkin picking – an all time favorite. I think my parents set me up to be a fall lover. 1. my birthday – nothing they could have helped as I was not a planned pregnancy. However, I sure am grateful! But, 2. my first halloween they dressed me up as the cutest pumpkin in the patch! I think my fate was sealed at that exact moment…

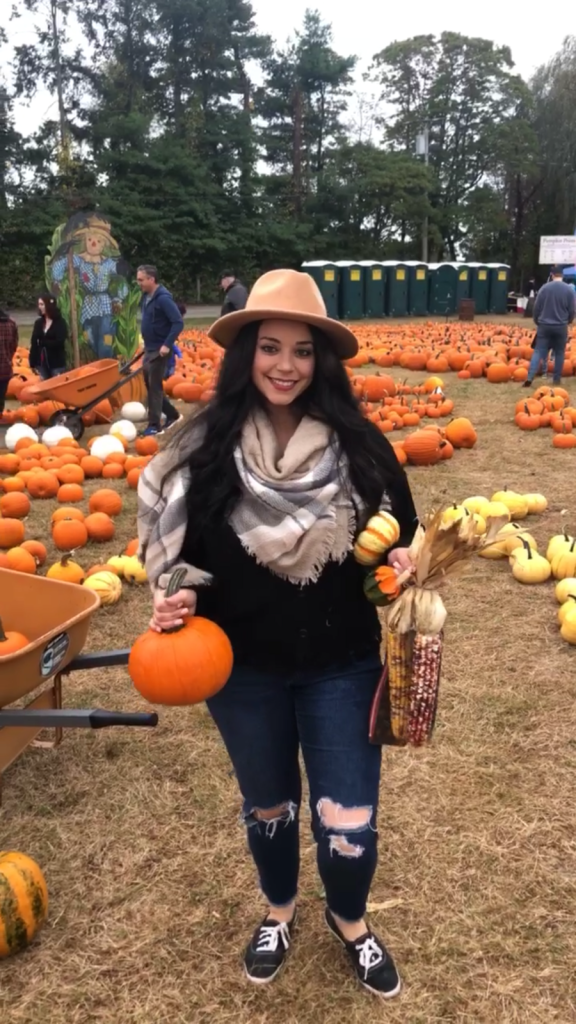
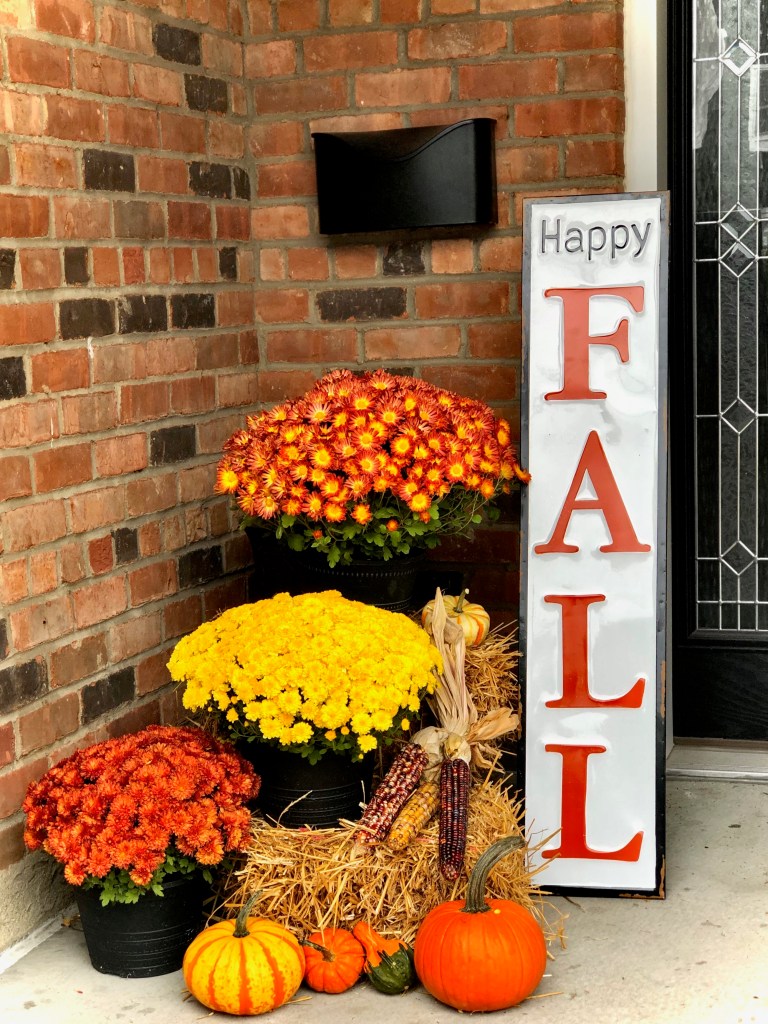
Pumpkins, gords, fall corn and hay bales galore! All the items I needed to decorate my front porch with.

One day up at the farm makes memories that last a lifetime. I hope one day, when my children have their children – they talk about the memories they have of driving up to the farm for apple picking and pumpkin picking. I hope they make apple pies with their children and I hope they decorate for fall just as I do.

Braided Twine Fall Wreath

October is here, the leaves are changing colors, the weather is cooling off and pumpkin spice is everywhere. My door however was looking mighty bare. I had a ton of twine left over from some of the DIY projects I had done for my upcoming wedding. So, I decided to make a wreath with all of the leftover twine I had sitting around!

MATERIALS

  • 14″ floral ring – purchased as a 3 pack through amazon https://amzn.to/2LUiykp
  • Jute twine https://amzn.to/35kSC9w (this is a great price! Under $4 for 328 feet!)
  • Hot Glue Gun and Glue
  • Fall Ribbon
  • Your favorite embellishments, I found a cute dupes for the welcome sign that I used on amazon (Linked Below) – go walk around your local craft / dollar store and pick up what screams out to you. This is the best part of making your own wreath you get to be as creative as you’d like!
  • https://amzn.to/2IuubfO

STEP 1: braid the twine

Cut 3 pieces of twine equal in length, tie a knot at the top and start to braid. Once you reach the bottom, tie a second knot and start on a new piece. Depending the size of your ring will determine how much “braid” you need. I needed to braid 3 double arm lengths of twine to wrap mine, thats a wholeeee lotta twine but it was well worth it after seeing the final look.

TIP : I chose to add and an extra element and depth to this fall wreath, which is why I braided the twine together before wrapping the wreath ring. If you’d like to make this a quicker DIY project you can wrap the twine around the ring without braiding it and will come out just as beautiful!

STEP 2: wrap and glue

TIP: ALWAYS glue to one side of the ring, that will become the back side of the wreath

As I was sitting at the table wrapping and gluing, my fiancé says to me… “you have the patience of a saint.” With crafts YES, there is something therapeutic about creating something from scratch and seeing the final product is so very exciting! But catch me at 3 am when my cat is running around the house, knocking things off the night stand waking up our 1 year old puppy and those patience are no where to be found! I love my animals but this girl needs her sleep!

Anywhoooo back to step 2 – take the braided twine and wrap it around the wreath, gluing every other wrap. Make sure you glue to the same side of the ring so everything looks cohesive. The knots on the end of the braids should be cut off but make sure you glue the ends together so they do not peel. These ends should be glued to the back side of the ring so that nothing is showing in the front.

STEP 3: Fill ‘er up!

This is the fun part. Take any embellishments that you choose or have handy around the house and fill up the wreath to your liking! You can use ribbon, leaves, flowers, pumpkins, words etc. There are so many options not every one has to be the same!

I had a welcome sign lying around the house that I haven’t used in years and it was the perfect fit! I started with that, decided where I wanted the welcome positioned on the wreath and worked around it. I made a bow from a roll of ribbon I bought at dollar tree and I filled it all in with some fall flowers and leaves

TIP: Dry fit your embellishments before you start to glue!

After all of my embellishments were dry fitted and I decided on the lay out, I started to glue, glue, glue! Always remember, sometimes less is more!

my door went from DRAB to fall FAB!

Lavender Rose Design… the beginning

Well… this was a long time coming. For anyone who truly knows me, knows I have always been a crafty person. As a kid, I spent hours upon hours scrapbooking my life away. I would make one book per year. It highlighted the best things that happened, all the movies I saw, sporting events I attended, places I visited. Dollars upon dollars went into my craft supplies. I would make scrap books for birthday presents, baby showers, a child’s first year all while making a mess in my parents basement (SORRY MOM & DAD!). 

Fast forward a few years, I got a job at a Catering hall. I started to see all the planning that went into weddings, sweet 16’s, engagement parties etc. I loved the it, the design work that went into making events so beautiful was a true outlet for my creativity. Nothing made me happier then seeing an event come to life.  There was something about the chaos behind the scenes but the beauty going on in the front that gave me a rush. 

Now, a few (more than a few) years after that. Time and time again I told myself “I’m going to do this”. And time and time again I didn’t. As you get older you truly start to think about what you want your life to look like from here on out. For me, I see this. So yes, this has been a LONG time coming with a long way to go but, here’s to the beginning!